Account
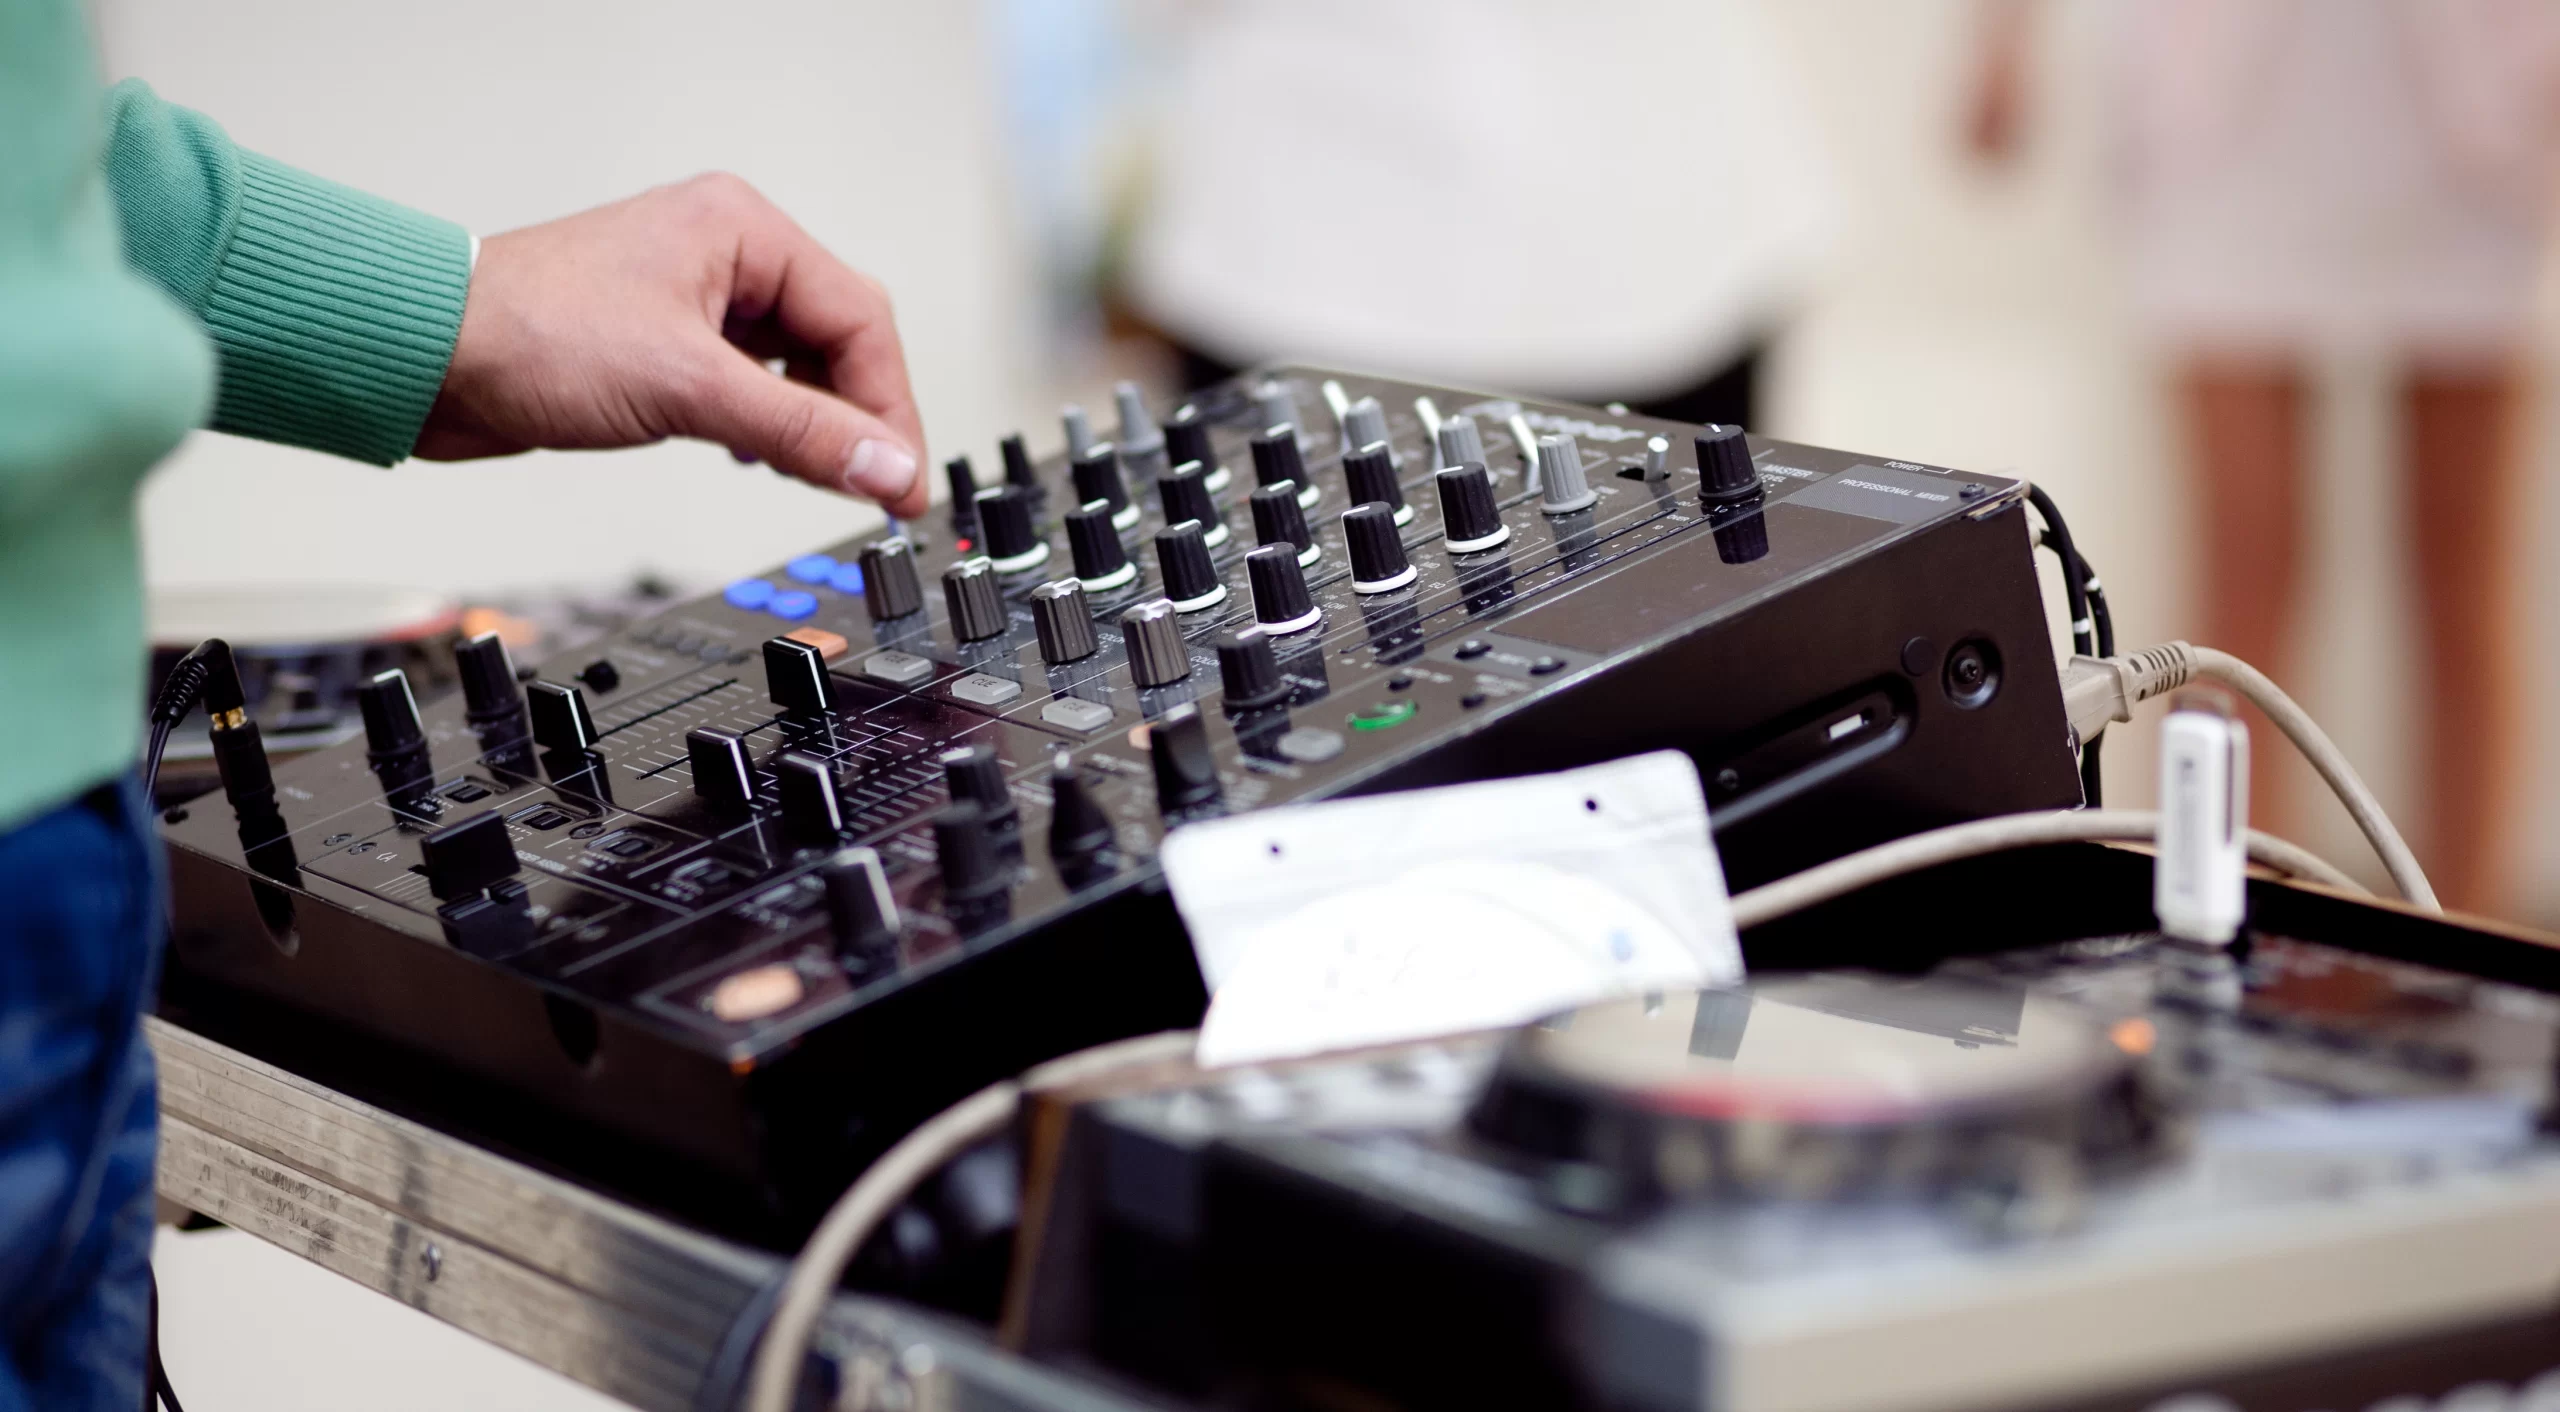
How to Use an Audio Interface for Live Performances and Studio Sessions
Using an audio interface can substantially enhance sound high-quality for stay performances and studio sessions. It bridges the gap between analog devices and digital audio workstations (DAWs). By expertise its setup and capability, musicians and audio engineers can acquire expert-grade sound. This guide explains how to use an audio interface efficiently.
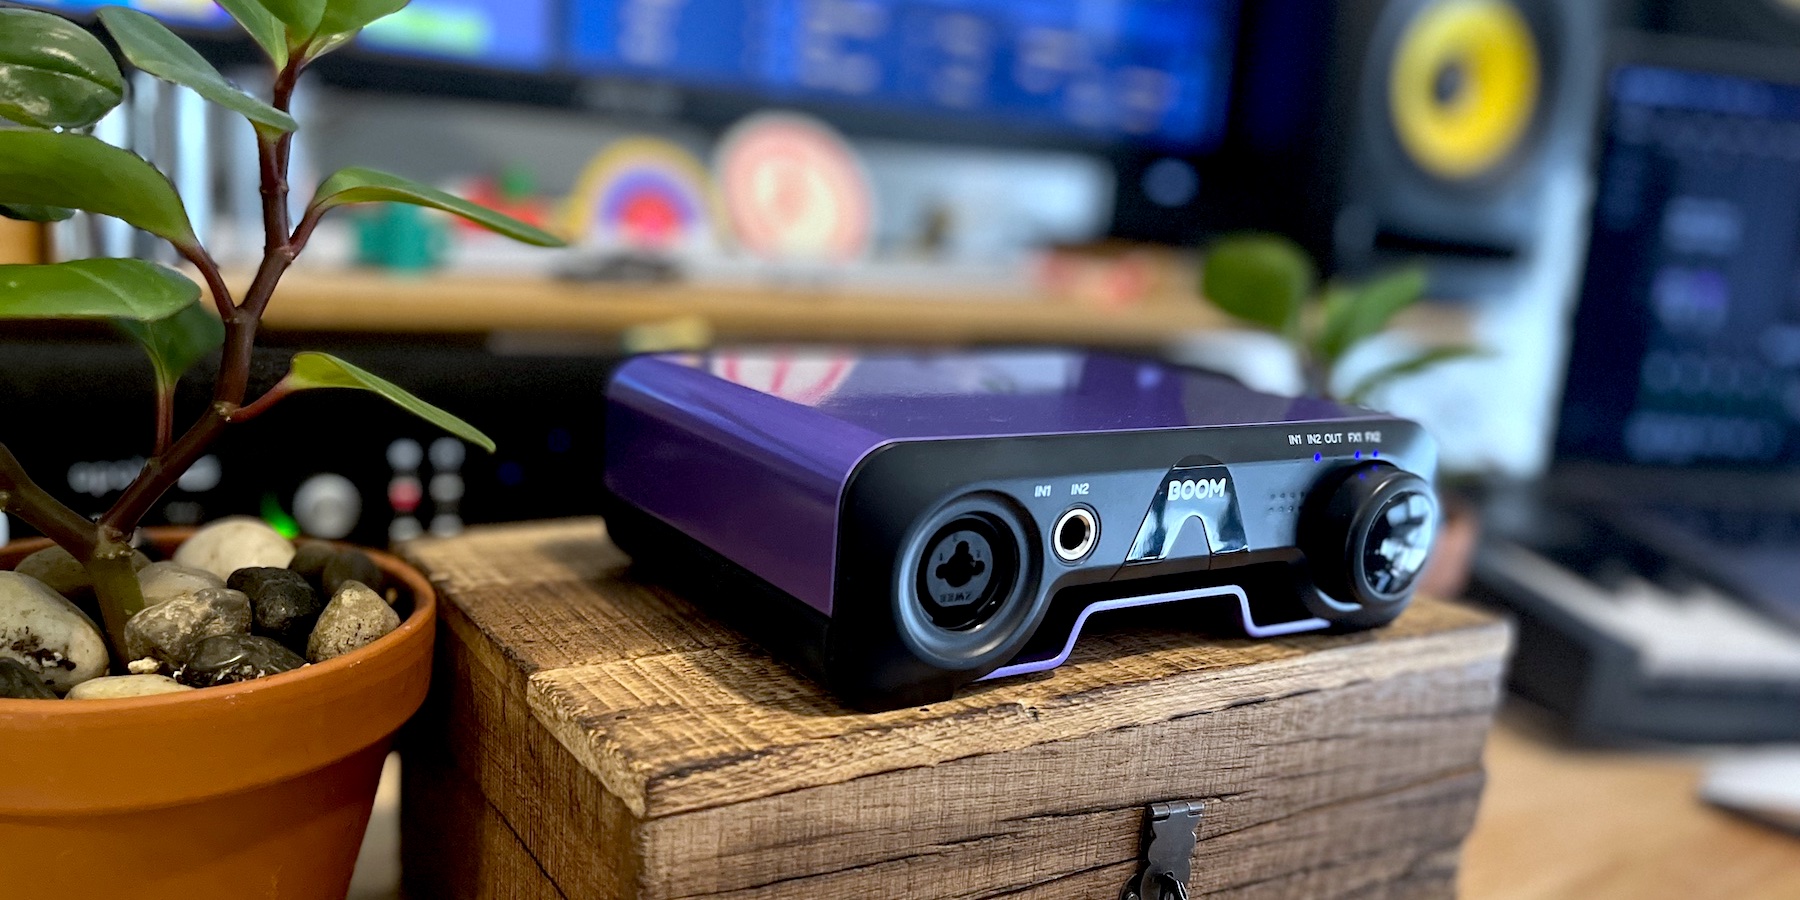
What Is an Audio Interface?
An audio interface converts analog signals from units into virtual codecs. These virtual signals are then processed via computer systems or different recording gadgets. Conversely, it additionally converts virtual indicators into analog formats for playback thru monitors or headphones. Whether in a studio or a stay overall performance, an audio interface guarantees clean and correct sound.
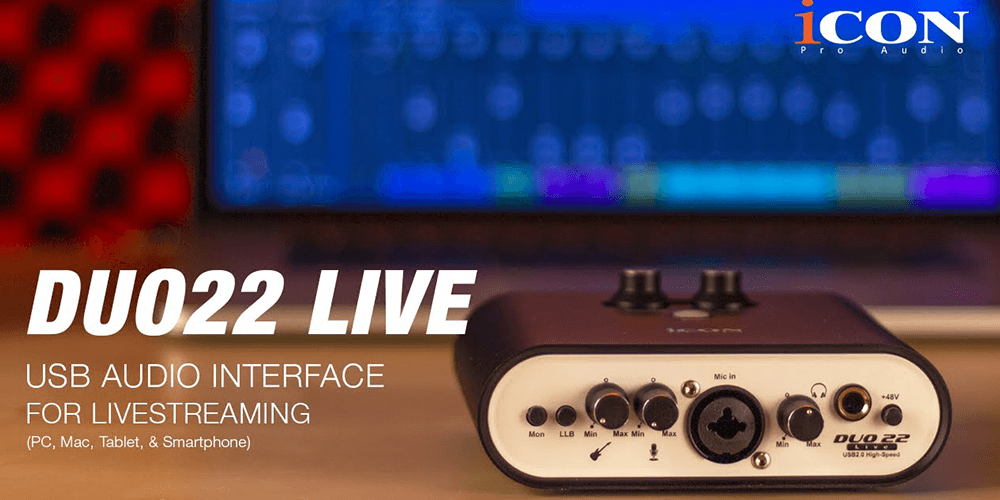
Choosing the right audio interface
Choosing the right audio interface depends on your specific needs. The number of inputs and outputs is important. For example, a solo artist may need fewer inputs. While the band requires multiple ports, a USB, Thunderbolt, or FireWire connection should be connected to your computer’s port. Compatibility with your DAW is also essential. Do thorough research before purchasing an audio interface.
Setting up the audio interface for a studio session
Step 1: Install required drivers
Most audio interfaces require drivers to work properly. These drivers guarantee compatibility with your computer’s operating system. Download the latest version from the manufacturer’s website. Follow the installation instructions carefully.
Step 2: Connect the audio interface
Use the appropriate cable to connect the interface to your computer. Make sure the connection is secure. Open the audio interface If there is an on/off switch Your system should automatically recognize the device.
Step 3: Configure audio settings
Access the audio settings in your DAW. Select the audio interface as the input and output device. Adjust buffer size to balance latency and performance. A lower buffer size reduces latency. But it requires more processing power.
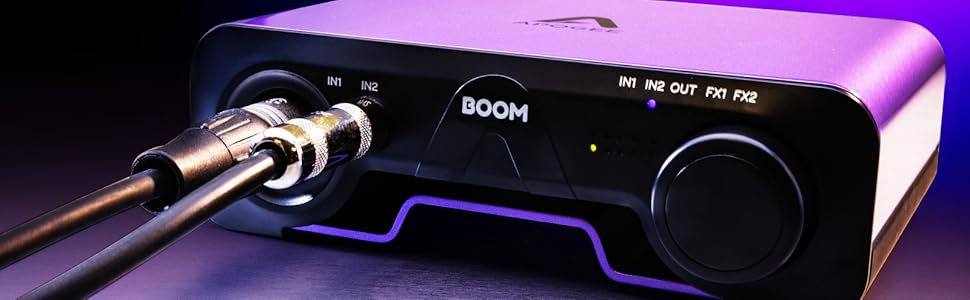
Step 4: Connect the instrument and microphone
Plug your device or microphone into the input on the audio interface. Use an XLR or TRS cable for optimal transmission. Set the gain level appropriately to avoid distortion.
Step 5: Check the sound
Connect to studio monitor output or headphone audio interface. Check the volume to ensure clarity. Adjust profit and output volume as desired.

Using an Audio Interface in Live Shows
Step 1: Get Your Gear Ready
Figure out what equipment you’ll need for the show. Count how many inputs you need for your instruments and mics. Make sure you have all the cables and extras you’ll need.
Step 2: Hook Up to the Sound System
Connect your interface to the venue’s mixer or PA. Use high-quality cables for better sound. Double-check all your connections before you move on.
Step 3: Fine-Tune Your Sound
Set the right levels for your inputs and outputs on the interface. Listen for any unwanted noise or distortion. Do a sound test to make sure everything’s balanced, from instruments to vocals.
Step 4: Use Zero-Delay Listening
A lot of audio interfaces let you listen to yourself in real-time. This helps you hear yourself without any delay. Turn this on to make your performance feel more natural.
Tips to Get the Best Sound
Keep Gain Levels in Check: Don’t set gain too high or too low. This helps you get a clean signal without much noise.
Keep Your Software Up-to-Date: Regular updates make your gear work better together and run smoother.
Get Good Cables: Spend money on strong high-quality cables to keep your signal strong.
Cut Down on Delay: Adjust your buffer size and use drivers that reduce lag.
Troubleshooting Common Problems
No Sound Output: Check the audio settings on your Calculator and DAW. check the port is elite arsenic the principal yield twist. Confirm all cables and connections.
Distorted Sound: Reduce the gain levels on the audio Connection. check the stimulus point is not clip. Replace damaged cables if necessary.
Latency Problems: Lower the buffer size in the audio settings. end redundant Uses to clear leading unit Supplys. If latency persists consider upgrading your Calculator or Connection.
Conclusion
Understanding how to use an audio Connection can Revolutionize your live Effectiveness and studio Meetings. right apparatus and care are important for best go character. By following this guide you can maximize the potential of your audio Connection and elevate your music production. whether acting be or recording inch the studio apartment associate in nursing sound port is associate in nursing difficult drive for achieving master results